Mathematics
Grade Levels: 5th Grade, 6th Grade, 7th Grade,
Topics: GeometryCirclesStatistics
Common Core State Standard: 2.G.3, 3.MD.1, 4.MD.5, 4.MD.6,
Concepts:
• Diameter
• Angle
• Perpendicular
• Degree
• Students can determine diameter of a circle.
• Students can measure central angles of a circle.
• Students can create a circle graph to represent survey results.
Materials:• Ruler
• Art supplies (construction paper and colored pens or fine-tipped markers)
Download the Teacher Guide PDFLesson:
Procedure: Prepare for presentation the Futures Channel movie, An Industrial Designer.
Explain to students that for this lesson they will be assuming the roles of designers for a company called “TimeLines”, who have been given the task of creating a new design for a watch.
Arrange students in teams of two or three members each, and give each team a copy of the “Watch Specifications” handout. Review the specifications with them to be sure they are understood.
Tell students that before they begin their work you want to show them a short “training video” on the subject of design. Tell them that after the video is over, you will be asking them to answer this question (which they should write down):
What do designers need to think about when creating a new design?
Play the movie, An Industrial Designer, all the way through. Then ask students to take a few minutes and make some notes about how they will answer the question.
Discuss students responses to the question. In the process of the discussion, be sure to elicit or present at least these answers:
Designers need to think about….
• whether customers will like the way their designs look.
• being sure that whatever is being designed is the right size.
• how to describe their design so that when they turn it over to a manufacturer the manufacturer knows exactly what the final product should look like.
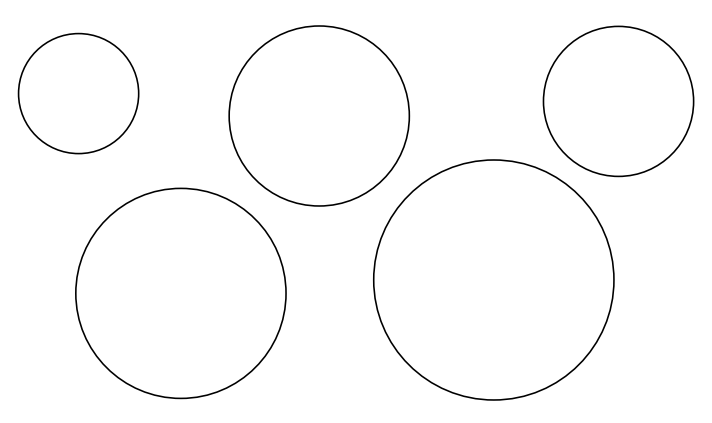
Ensure students understand that they must use one of the circles provided on the handout as a patterns for cutting out each watch face design.
Once they have cut out a watch face from the provided construction paper using one of the patterns, students will need to find the center of that circle and mark the twelve hour positions around the circumference. You may wish to review the procedure for this in advance for all students (see below), or pose it as a problem for teams to work out, and help only as needed as they attempt to do so.
Optionally, as an additional statistics-oriented element to this activity, you may wish to have students make measurements to determine the correct wrist band length for their potential customers (by measuring wrist circumference for a sample consisting of the class’s boys or girls, and determining from that data the optimum wrist band length).
Marking the Hour Positions
Step 1: Find a diameter and the center.
Use your ruler to find the longest distance across the circle (from one side of its circumference to the other). Draw this line, lightly in pencil. Measure the exact length of the line, divide it in half and use that measurement to mark the center of the circle.
Step 2: Mark the 12 o’clock position
Use a protractor to create a line that passes through the center of the circle at an angle of 90 degrees to the diameter that you have drawn. This line will pass through the circumference of the circle at the 12 o’clock position.
Step 3: Mark the other hour positions.
Recall that the angle traversed in traveling all the way around the circle is exactly 360 degrees. Since there are 12 hour positions, then each position must be at an angle of 30 degrees from the prior position (360/12). Use this fact and a protractor to mark the remaining hour positions.
TimeLines Watch Specifications
• You may create a design for either a man’s or woman’s watch.
• The watch face must be circular.
• The diameter of the watch face must be the same size as one of the circles below.
• The watch face must have 5-minute marks correctly spaced around the inside of its circumference, and must at least show the hour numerals 3, 6, 9 and 12. You may show all hour numbers 1-12 if you wish.
• Your design should show how the hour and minute hands will look and the correct positioning for them (extending from the center of the watch face out towards the circumference).
• The watch face can be any color or pattern that you wish.
• The watch band can be any color or pattern that you wish.
• The watch band must be of an appropriate length for a typical customer’s wrist size.
• Your team is to create two designs, and survey exactly 20 potential customers as to which design they prefer. The results of this survey must be presented in a pie graph.

