Mathematics
Grade Levels: 4th Grade, 5th Grade, 6th Grade,
Topics: Geometry (Circles)Geometry (polygons)
Common Core State Standard: 2.G.1, 3.G.1, 4.G.2, 6.G.4, 7.G.6, G-GMD.4, G-MG.1,
Concepts:
• Property
• Diameter
• Radius
• Chord
• Perimeter
• Area
• Can specify defining characteristics of common polygons
Materials:(for each student):
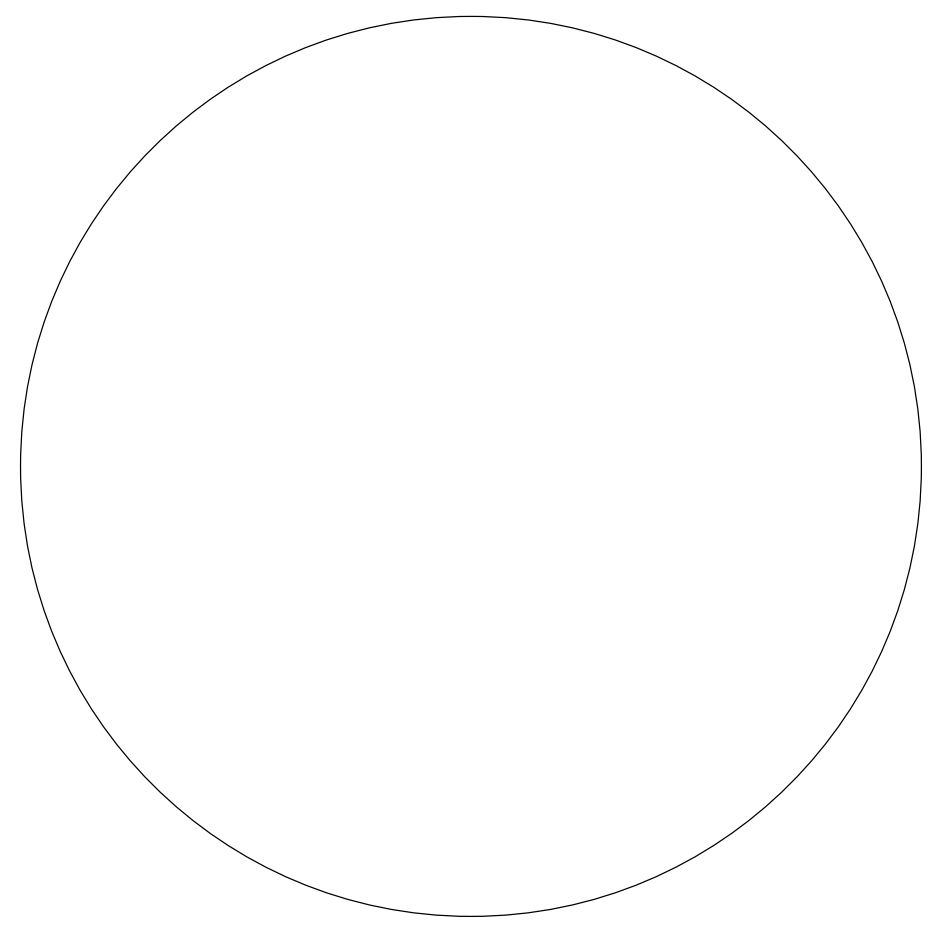
1. A cutout paper circle, 7 to 10 inches in diameter (you may wish to have students cut these out, using the template provided in the handout).
Lesson:
Procedure:
1. Ask the students to write down four properties of the figures they have been given. Make sure they understand what “property” means (“the way something is, or how you can describe a thing”). Circulate as the students work on this.
2. Have students present their answers until you have heard about all of the properties that the students came up with.
3. Tell the students that a circle is a wonderful shape, because you can make so many things with it. Have them fold their circles in half, and what they notice. Guide them to the realization that the halves match, and that this is “symmetry.”
4. Ask what the name is for half a circle. Ensure that the class understands the term “semicircle.”
5. Ask if they have seen anything that looks like a semi-circle, leading them to the realization that a protractor is a semicircle, that it contains 180 degrees, and a circle therefore contains 360 degrees.
6. Have the students fold their circles into fourths, then unfold them and mark the centers. Then have them draw a line from one edge of their circles through the center to the other edge. Through discussion, ensure that the class understands the term “diameter.”
7. Repeat this with a line drawn from the center of the circle to one edge (“radius”).
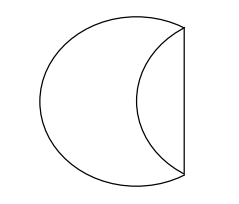
8. Have the students fold the edge of the circle down so that it meets the center, then draw a line on the resulting fold. Ensure that the class understands that such a line is called a “chord” (“a line from one point on the edge of a circle to another point on the edge”). Ask if a diameter is a kind of chord, and ensure that the class understands that all diameters are chords, but all chords are not diameters.
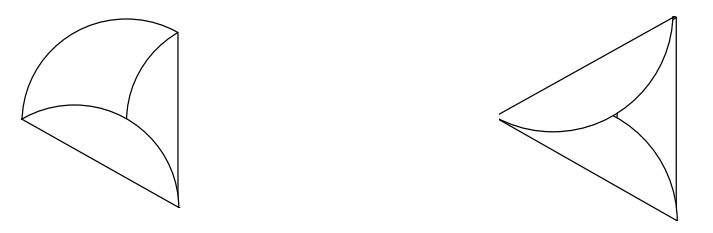
9. Have students fold down another edge to the center, so that the resulting shape looks like an ice-cream cone. Then have them fold down the final edge. Ask what shape they have made and ask them what they can tell you about that shape. Discuss the properties of a triangle and of this triangle in particular (all three sides are equal).
10. Have students work out a few ways to prove that the triangle is equilateral without using a ruler.
11. Have the students fold one vertex of the triangle down so that it touches the center of the opposite side. Have them describe the resulting shape and through discussion ensure that they understand the terms “parallel” and “quadrilateral” (and, optionally, “trapezoid”, and “isosceles trapezoid”).
12. Have students fold one of the acute vertices of the trapezoid over so that it meets one of the obtuse vertices. Use this action as an opportunity to discuss the terms “acute” and “obtuse”.
13. Ask students to describe the resulting shape. Write down the words they come up with to describe the shape, and ensure that they include “quadrilateral, “parallelogram”, and “rhombus” and that students understand why each of those terms applies to the shape. Then discuss the relationship between these classes. Ask questions such as, “Are all parallelograms also quadrilaterals?” “Are all quadrilaterals also parallelograms?,” and
so on, until it’s clear that the set of all rhombuses is a subset of the set of all parallelograms, which is a subset of the set of all quadrilaterals.
14. Ask students to fold one of the acute vertices of the rhombus so that it touches the other acute vertex. Have half of the students unfold that shape back to the original triangle, and then ask the students to compare the two shapes they now have (small and large equilateral triangle). Review the concept of “similarity” and “congruence”, and ensure that students can explain why these two shapes are similar but not congruent.
Optionally, ask students to see if they can figure out the ratio of the length of a side of the large triangle to the length of a side of the small triangle, and demonstrate that their answer is correct. (The ratio is 2:1.)
15. Have all students unfold their shapes back to the original large triangle, and then fold the three vertices of that triangle in so that each is in contact with the center point. Ask students to describe the resulting shape and in the ensuing discussion ensure that they understand the terms “hexagon” and “regular hexagon”. Ask students how they would prove that this hexagon is regular.
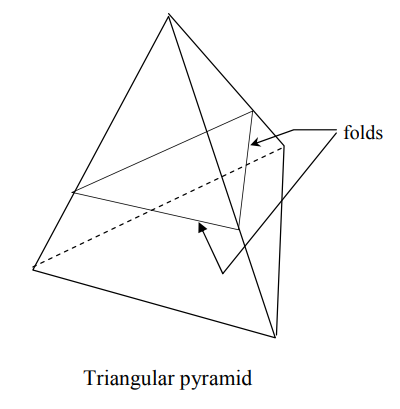
16. Unfold the shape back to the original triangle, and then refold to make a triangular pyramid (see diagram). Ask students to describe this shape, and in the resulting discussion ensure that students understand the concepts “polyhedron”, “pyramid”, and “triangular pyramid”.
17. Fold the top halves of the triangles down across each other to make a truncated triangular pyramid (see diagram below). Ask students to describe this shape as completely as possible. (They should observe that it is a polyhedron, that the bottom polygon is an equilateral triangle, that the top polygon is a similar but smaller equilateral triangle, and that the sides are all isosceles pyramids.)
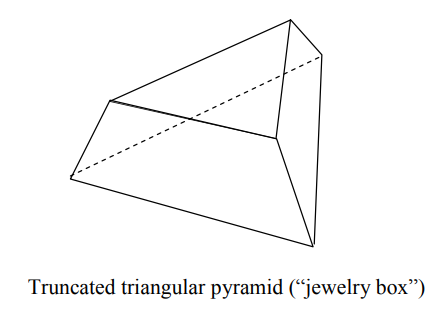
18. You may wish to have students decorate their “jewelry boxes” at this point.
19. Optionally, you can assemble 20 of these into a dodecahedron as follows:
a) Tape each “jewelry box” closed so that it retains its shape.
b) Place all of the jewelry boxes flat “upside down” on the table (with the larger triangular bases facing up).
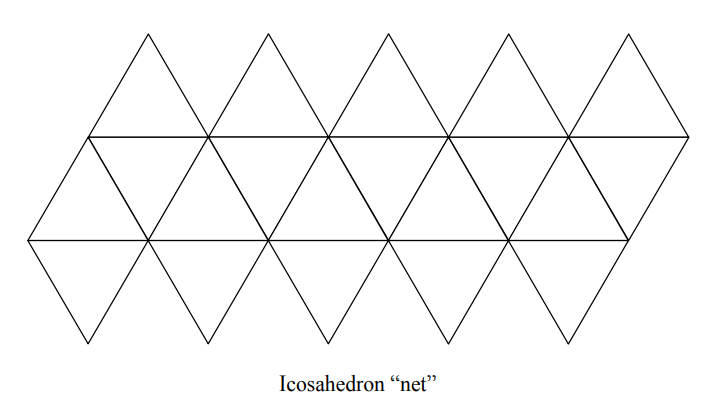
c) Tape the triangles together in the pattern below (the icosahedron “net”).
d) Pick up the net and fold to form the icosahedron. Tape the remaining junctions between the faces.
For homework, students can write their definitions for the terms covered in class, with illustrations to accompany them. As an additional assignment, give each student a cut-out square and have them create a new polygon by folding it, then describe the properties of that polygon.
Folding Circles
Cut out this circle and follow your teacher’s instructions to make other shapes from it.